8 Podcast Editing Tips to Make Your Podcast Stand Out
06.02.2024
Podcast editing might seem like a bit of a chore, but it can still be very rewarding. And although most listeners won’t notice the editing work you’ve done, it will still give them a better listening experience – and in turn, help your podcast stand out from the crowd.
Here’s my personal eight podcast editing tips, I’ll go into more detail in a second:
- Use a DAW (Digital Audio Workstation)
- Boost your audio signal
- Edit in Mono
- Cut out the filler words, stumbles and pick-ups
- Don’t cut on a breath; cut at the edge of words
- Use a DAW that lets you make a cross-fade
- Use an EQ to get rid of plosives
- Learn to use a Compressor
An amateur sounding podcast will have a few tell-tale signs: the volume levels will jump from host to guest; there are a lot of ‘filler’ words like umms and ahhs; there are regular ‘p-pops’ – blasts of air from words starting with the letter ‘p’ (like podcast); and breaths will suddenly cut into nothing.
Some of these problems mentioned can actually be corrected in the recording stage.
But there are still a handful of essential things you can do through editing to get your audio sounding more professional.
1. Use a DAW
Firstly, you need some kind of audio editing software, which is called a DAW (Digital Audio Workstation). There are a few free ones that you can get, like Garage Band that comes with Macs, and Audacity, a freeware program that you can download. A DAW allows you to edit and process your audio recordings, but also combine it with other audio sources, like music and sound effects. It will also let you mix everything down into a final file like an mp3 for uploading to a podcast hosting platform.
Some of the paid DAWS, like Adobe Audition, Reaper, and ProTools, are much more powerful, and will let you do things that the free versions can’t. However, many of the skills you learn on one, are transferable to another, as you get better.
2. Boost your audio signal
As mentioned, your DAW will let you manipulate your recorded audio.
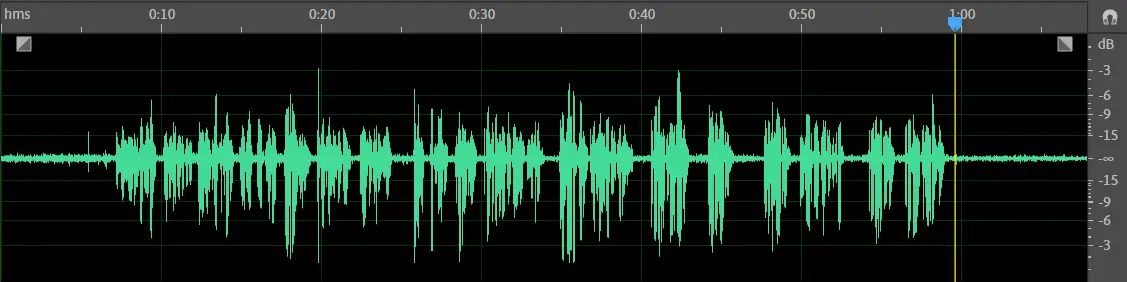
When you import the raw audio into your DAW, it will show up in the editing session as a waveform. The waveform is the visual representation of your sound recording,
One of the first things you can look for in your waveform is its size. Is it big or small?

Too small means that the signal was low during the recording.
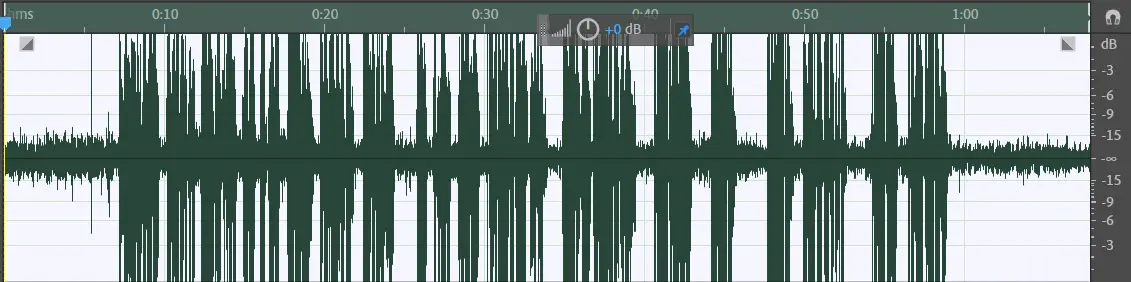 Too big (where the waveform is touching the top and bottom edges) means that the signal was very high during recording and this can cause distortion known as ‘clipping’.
Your DAW should let you select the entire clip, and then manually adjust it, turning it up or down, so that it becomes more like this:
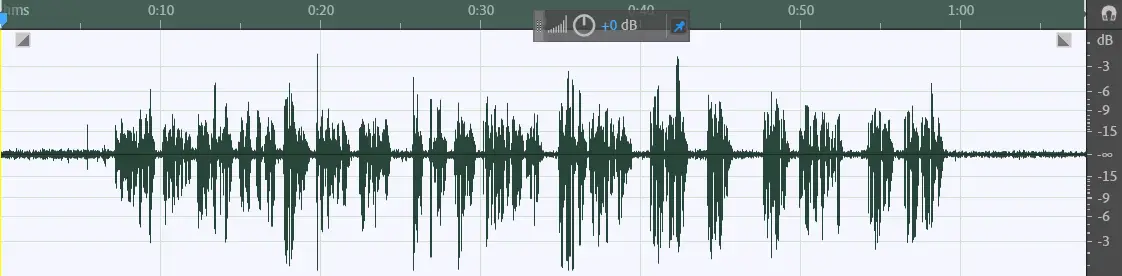 A good ratio is about three-quarters of the allowed space, where the peaks don’t quite touch the top or bottom edge.
Also, if you boost your host and guest in a similar manner, then they will end up being roughly balanced against each other in terms of volume (also called gain in audio editing).
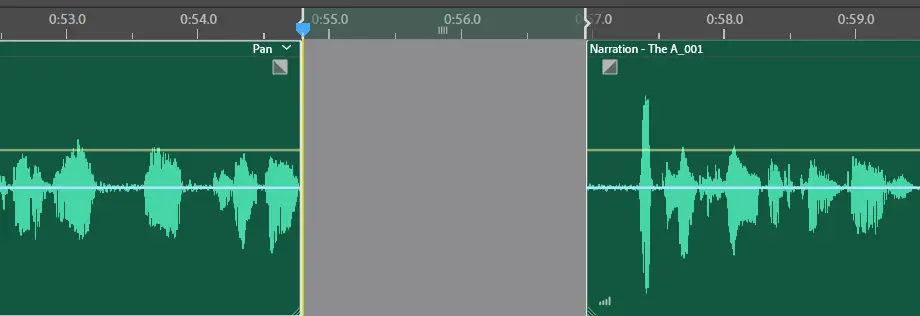
3. Edit in Mono
When you are recording a podcast, it is best to record each person talking into their own separate mono track, as it makes it easier to balance them together in the editing stage. However, this isn’t always possible, and sometimes you find that you have a raw stereo file with everyone mixed together.
However, one thing you can do straightaway, to make your editing job easier, is to split this stereo file:
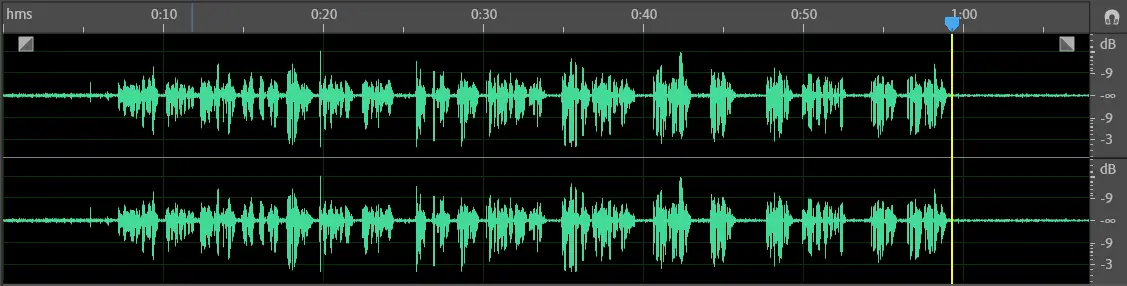
Into a mono file:
And the reason this will help you, is that the waveform will be easier to see, and so it will help you to pick out where you need to make your cuts. Also, a single voice does not need to be in stereo, the way music does.
Your DAW should let you do this, if you search for a feature like Split Stereo to Mono. Often it will split your stereo file into a left and right mono file – so pick the one you want to keep (I usually choose the left one for no significant reason) and then delete the remaining mono track.
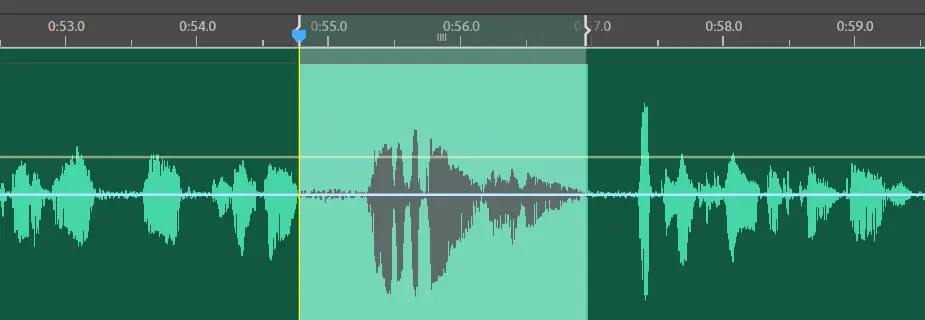
4. Cut out the filler words, stumbles and pick-ups
Often, when a guest is interviewed, they are nervous – especially when they haven’t done anything like this before. And people automatically begin to falter and stumble, and fall back on their ‘filler’ words like ‘umms’ and ‘ahhs,’ and ‘you knows’ –.
By cutting out umms, ahhhs, and other ‘filler words’ (words that people fall back on when they’re stuck or nervous) will help them to sound more professional and confident, particularly for guests who are not used to talking on mic. However, use your discretion. Sometimes, filler words can also have a meaningful function in a conversation, acting like punctuation; sometimes an ‘umm’ is a pivot point that tells the listener that the speaker has changed direction with their thoughts.
If the guest or host make a mistake, and then correct themselves (which is sometimes called a ‘pick-up’) always edit out their mistake, and use the correction instead.
But one thing to watch out for, is that you don’t change the meaning of what they are saying through editing. And if an edit sounds unnatural, reverse it, and try something different. And if that doesn’t work, leave it as it is, and move on to the next thing, otherwise you’ll get tired and lose momentum. This type of clean-up editing is labour intensive, and usually for every one hour of raw audio, you will need about three to four hours of editing time.
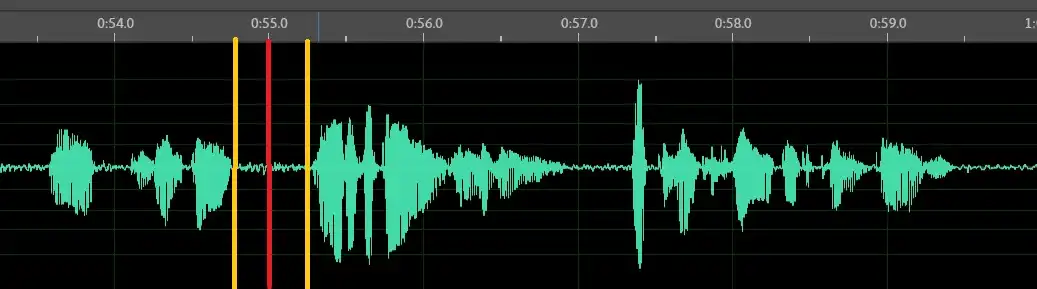
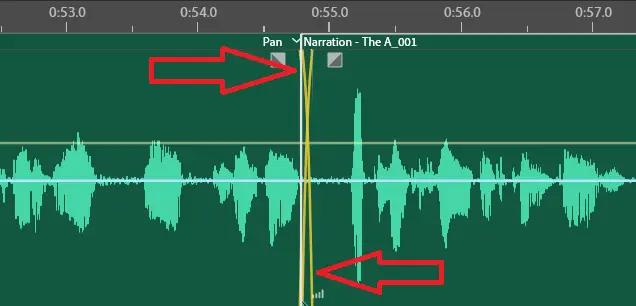
5. Don’t cut on a breath; cut at the edge of words
[Cut on the yellow lines, and not the red]
Another thing that will make your podcast editing sound unnatural is cutting halfway through a breath. You can avoid this by cutting at the edge of words, either at the start of a word, or the end of a word – as breaths are usually a split second on either side of a phrase or sentence. You can also see them in the waveform, if you have your waveform big enough (see 3. Edit in Mono)
6. Use a DAW that lets you make a cross-fade
The cross-fade is very important to spoken-word audio editing, as it lets you hide any edit that you make, by making sure there is no break in roomtone (the low-level ambient noise that you hear in the background).
 The part we want to cut out is selected
 After making the cut, we are left with two separate audio clips which we drag together
 The two clips overlap as they come together and the cross-fade is visible as crossed yellow lines
The two parts of your audio clip, overlap just a tiny bit, to keep the sound consistent. Not all free programs can do this within a track (there is a work-around by using two tracks, and having them overlap). But Adobe Audition, Reaper, Protools and Hindenburg Journalist will all let you do this.
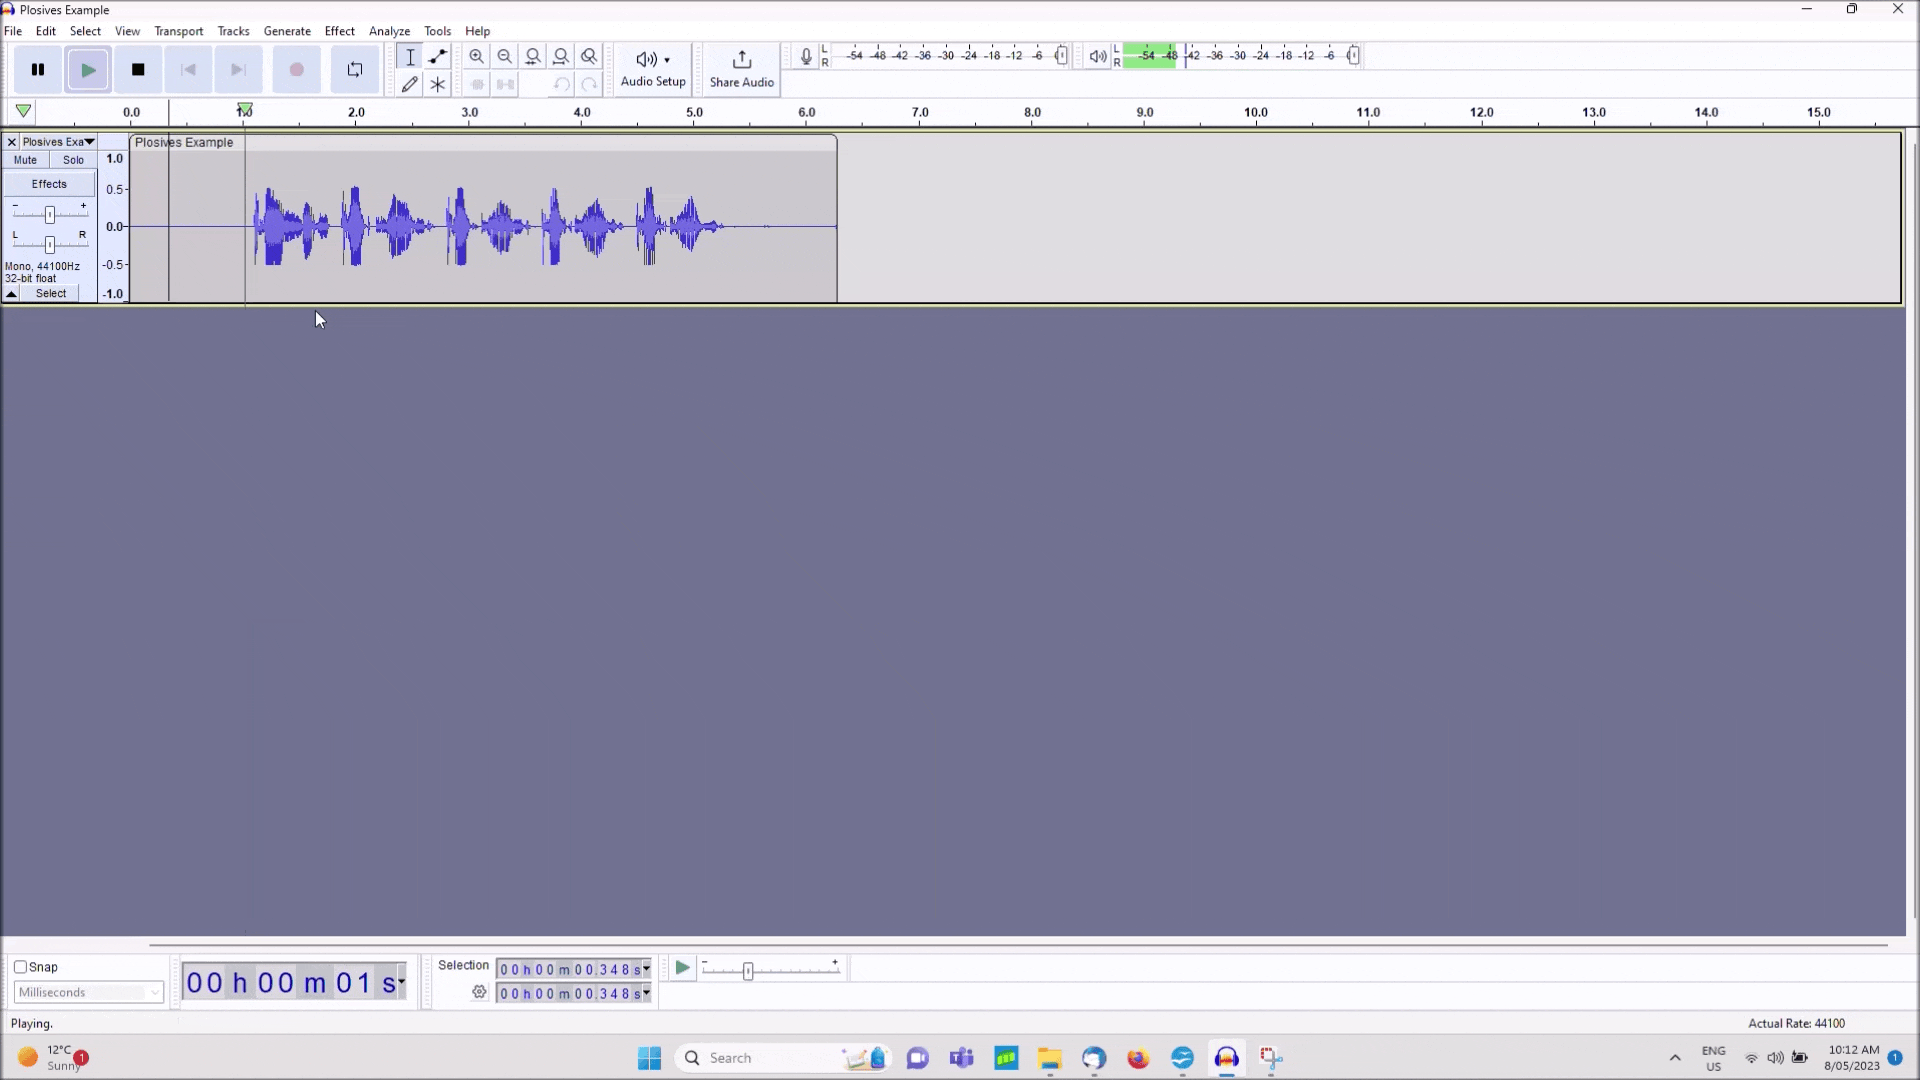
7. Use an EQ to get rid of plosives
Plosives are the blasts of air on words that start and end with the letters p, t, and k. They are also sometimes called ‘p-pops’. They live in the low frequency range of your audio recording (0-200Hz where wind and traffic noise also live) and they are relatively easy to clean up with just one step, called ‘rolling off the bass’.
Your DAW should have an EQ (Equaliser) plugin, that lets you filter the frequency range. You create a setting in the EQ plugin, save it as your ‘Plosive Filter’, and then you can highlight all of your audio, and apply the filter to it. Also, if your DAW lets you, you can add it to your ‘Effects Rack’ at the start of each track, and it will automatically apply the Plosive Filter you have created.
8. Learn to use a Compressor
Compressors are not the most easy things to understand or learn, but a little bit of light compression to your audio, helps to keep it from suddenly spiking into a loud section, like when your host and guest are laughing in a podcast, which can be suddenly annoying for listeners with earbuds. It’s difficult to explain it here how they work, but there are lots of good videos on YouTube that will teach you about what to do with them, in relation to podcasts.
Hopefully, at least a few of these will be easy for you to do. Podcast editing has a fairly steep learning curve, but you gradually get better at doing it through regular practice on your podcast project. There is a Podcast Editors group on Facebook where many of these questions get regularly addressed, and where you can find lots of helpful resources and people to talk to about what you are doing.
About Iain Wilson
Iain Wilson runs FOTW Audio Productions, a small company in Sydney that makes audio stories and radio documentaries. He has worked as a podcast editor for nearly seven years with RadioHub Media, and recently started teaching media at a Sydney-based technical college.